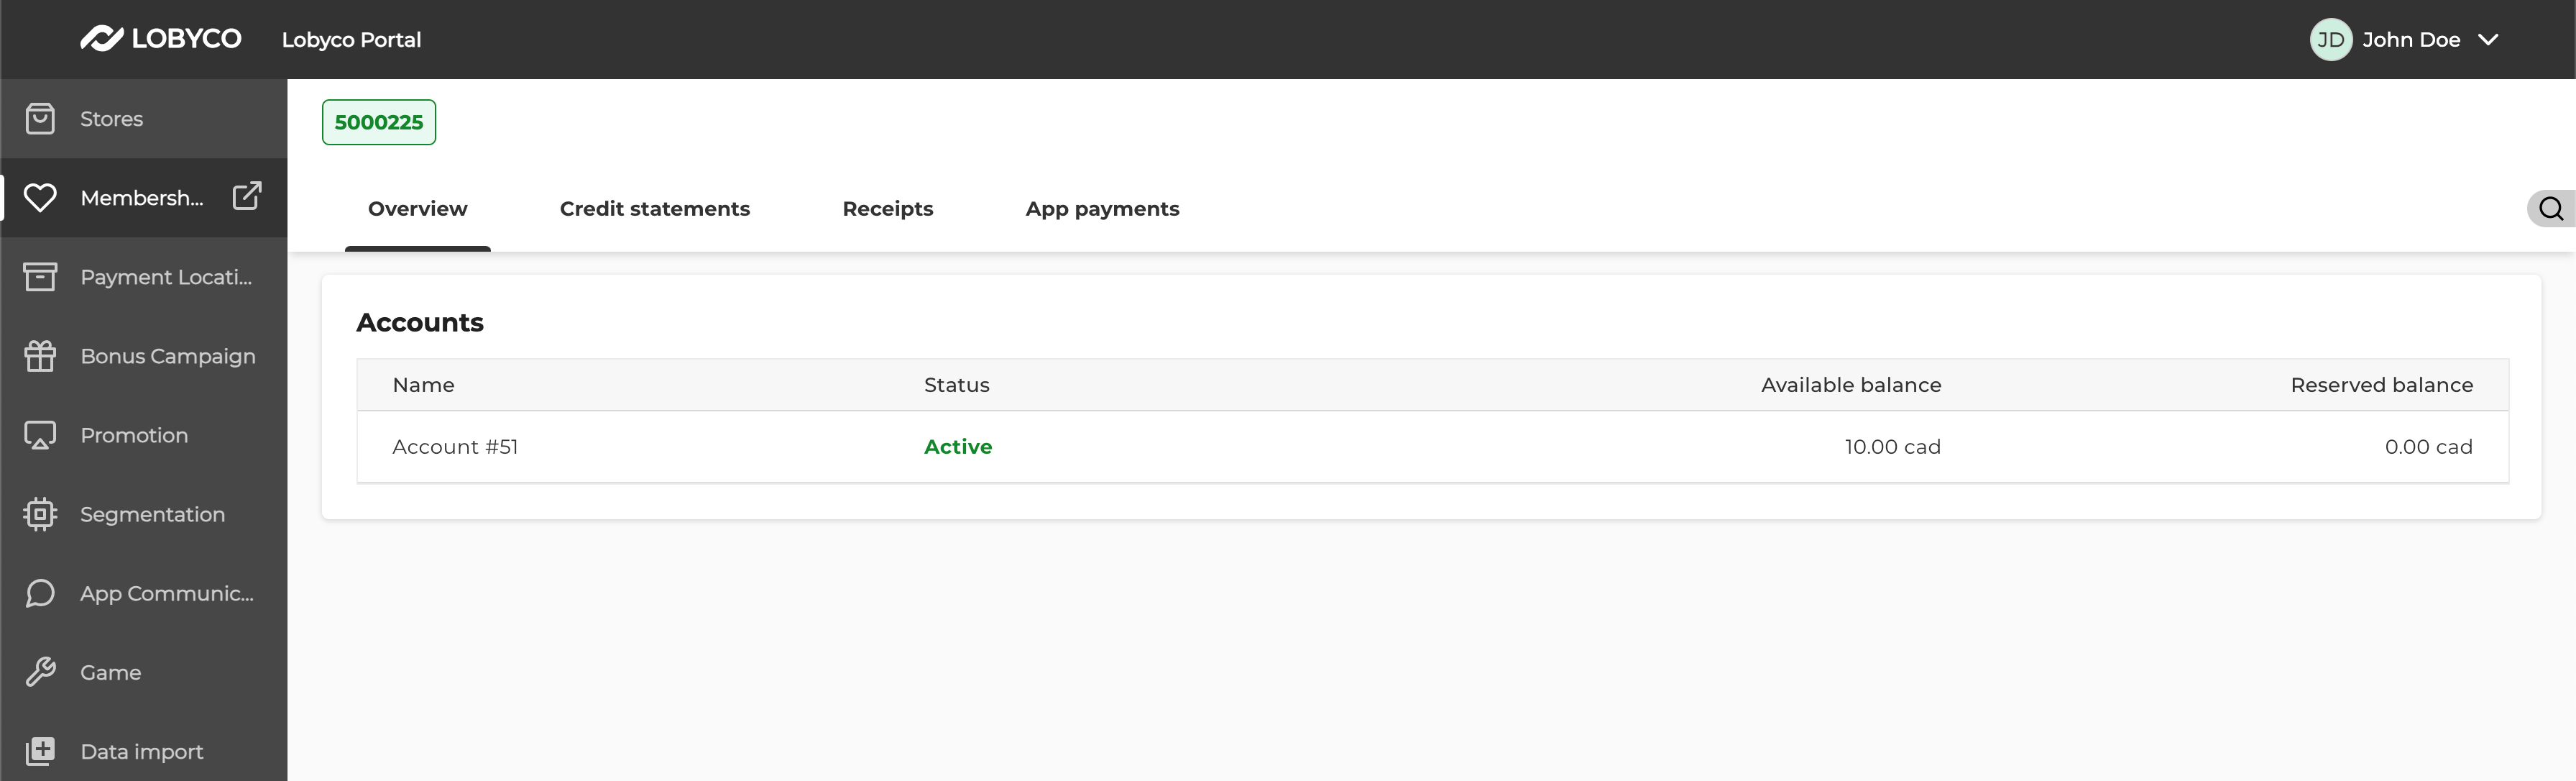
Configuration values provided by Lobyco
Client needs to share their Azure Tenant ID so that Lobyco can whitelist it and provide following admin portal configuration for pre-production and production environments:Note: links and app names are only for example and may be different according to the requirement. Contact Lobyco to receive configuration values.
Admin roles
Each tab in the left panel requires the corresponding role — Game Admin, Store Reader, and so on. Which roles are available depends on your client scope.Promotion Platform
Member Management
Scan&Pay
Segmentation
Store Admin
System Configuration
Other
Access setup in the client tenant
Following steps should be performed in the client’s tenant by Global Administrator, an Application Administrator, or a Cloud Application Administrator:1
Open and log in to Lobyco Admin Portal
Open Lobyco Admin Portal of the target environment in the browser and log in using your organization credentials.2
Accept requested permissions
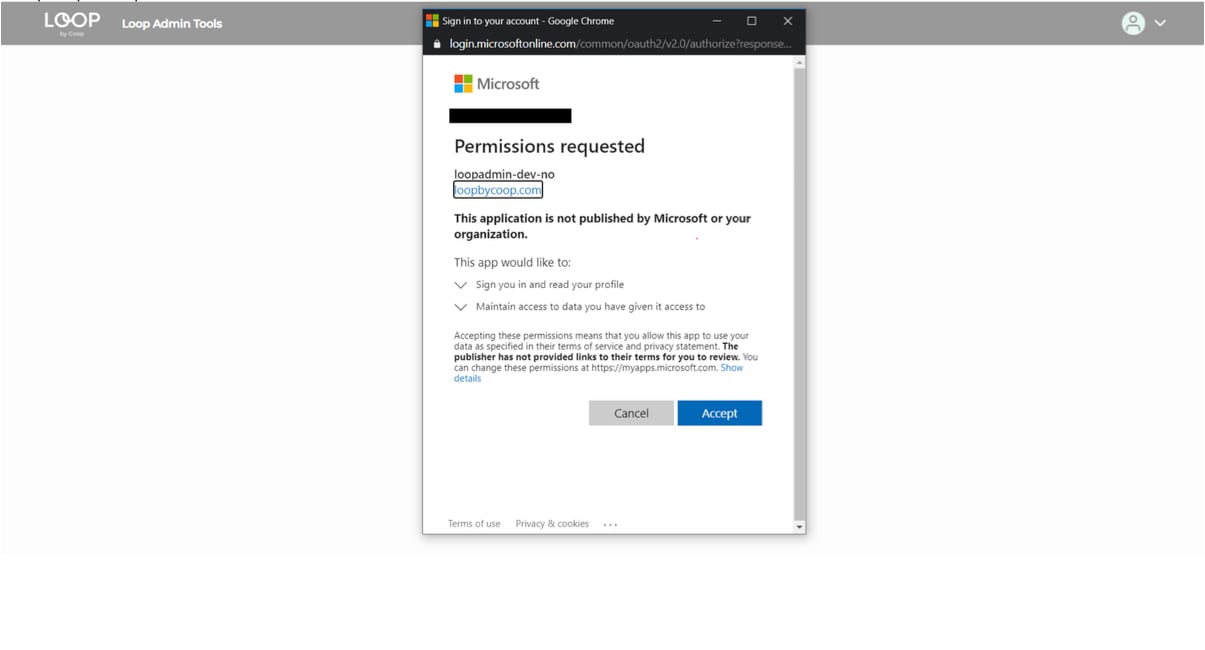
3
Verify the empty portal
When permissions are accepted, then an empty Lobyco Admin Portal should be displayed.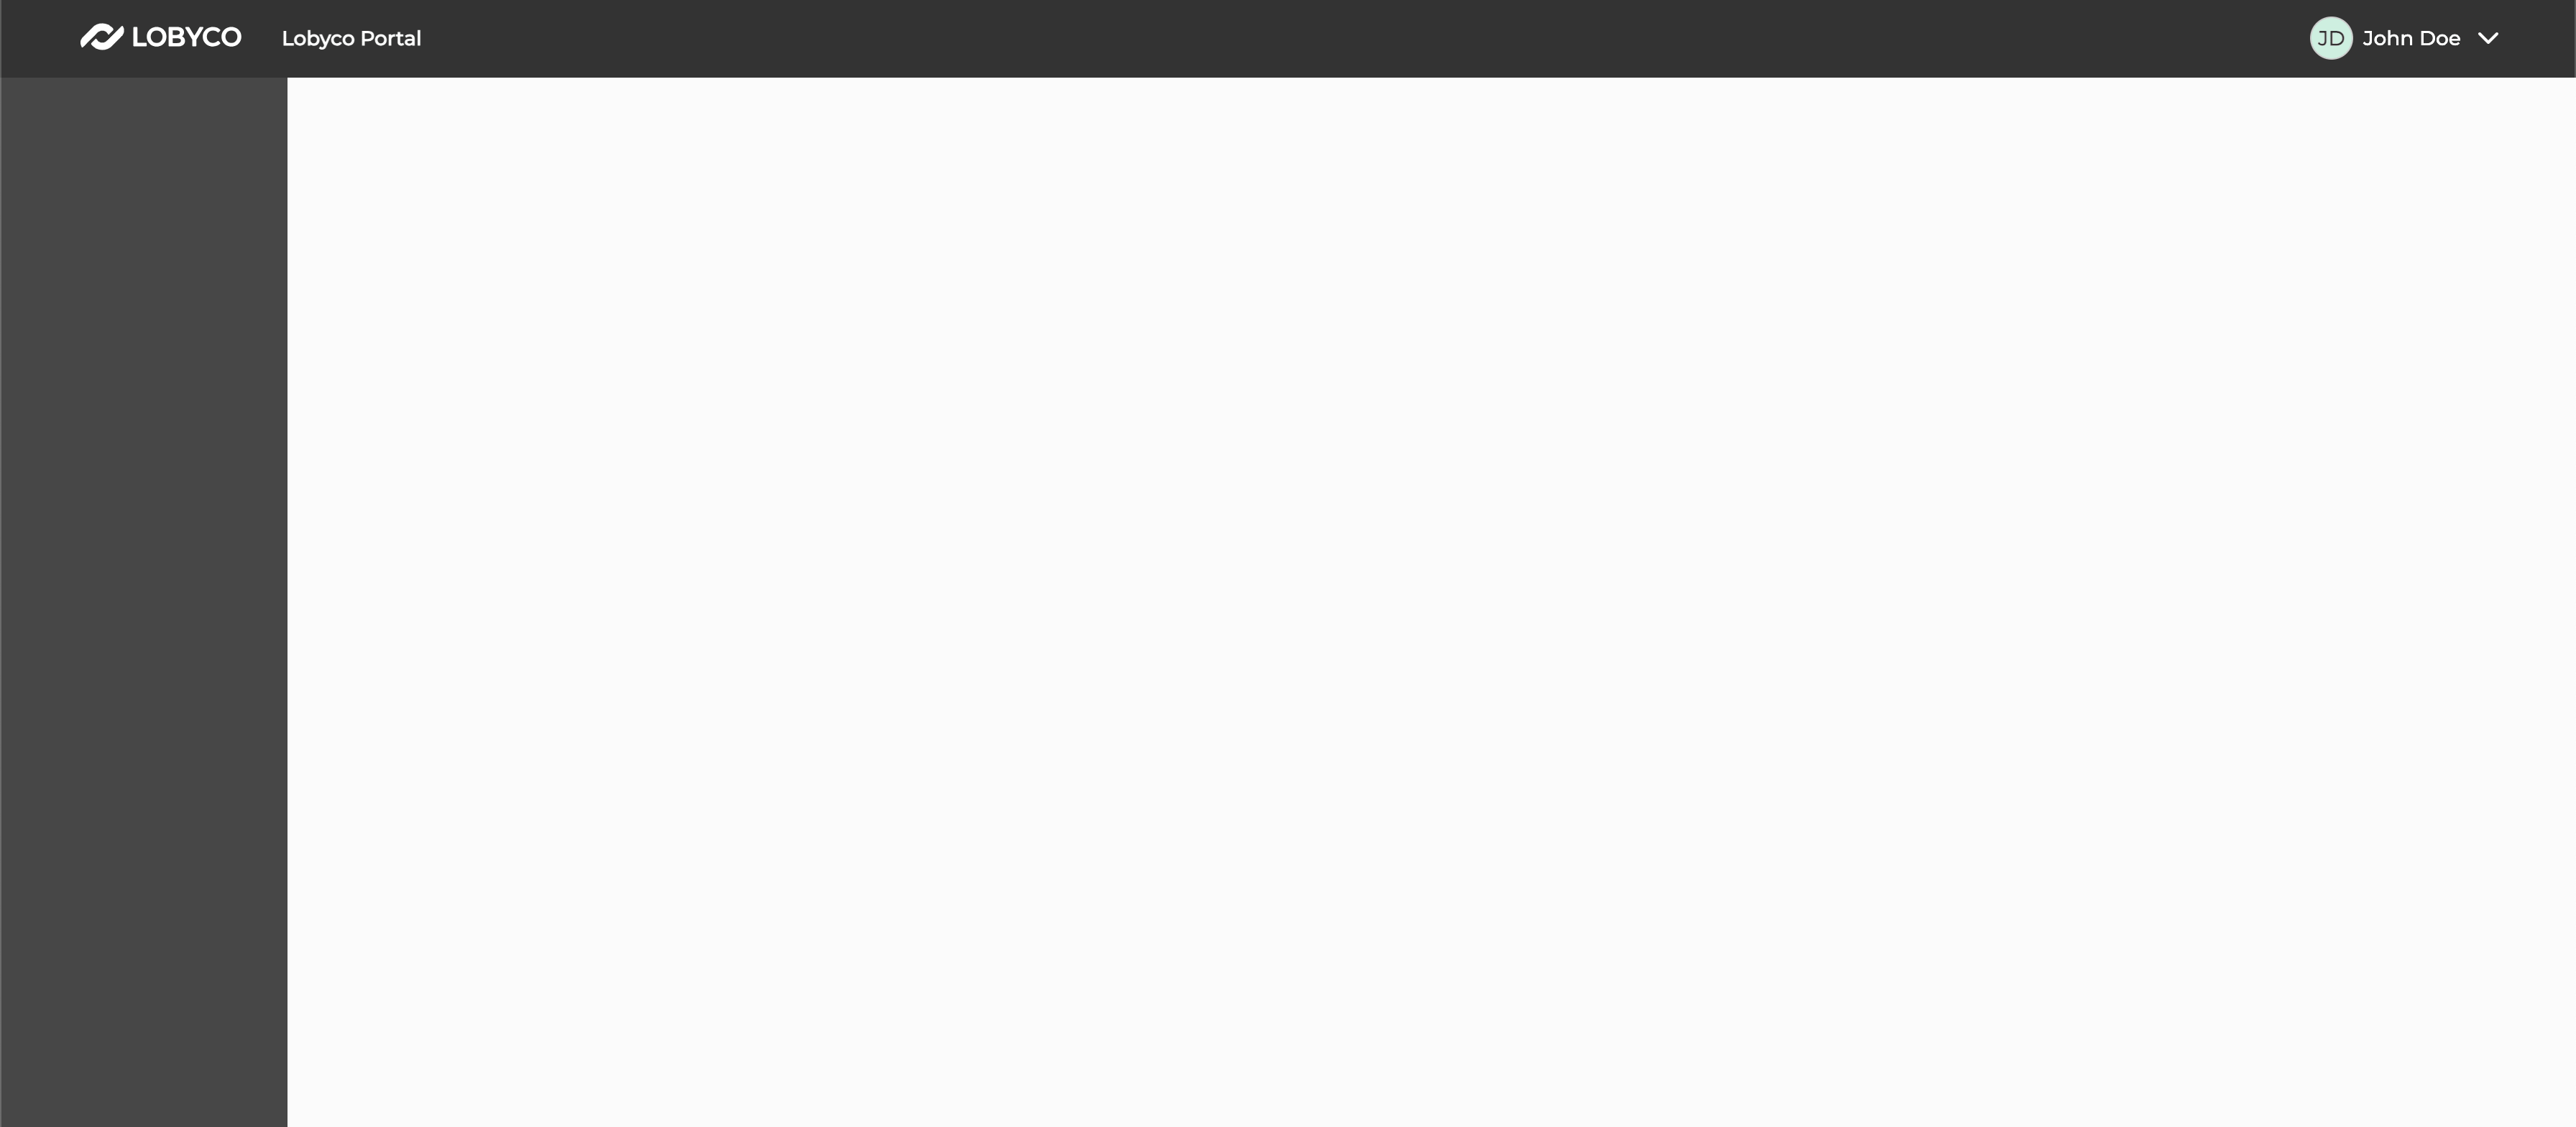
4
Locate the enterprise application
Go to the Azure portal. Go to Azure Active Directory and then select Enterprise applications. Search for the Lobyco app for the target environment and for the target client in enterprise applications: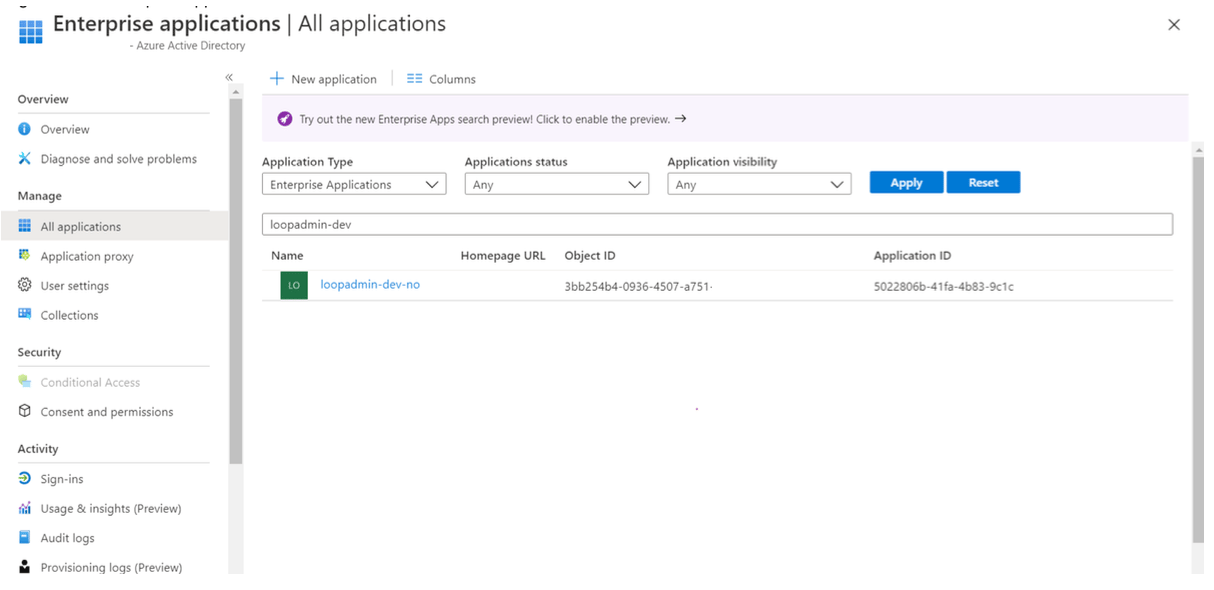
5
Grant permissions consent
Open the app and go to Permissions. Grant consent on behalf of all users in this directory, so that end users will not be required to consent when using Lobyco Admin Portal application.6
Assign users and groups to roles
Go to Users and Groups.Press Add user/group button. Select users/security groups and assign roles. A single user or security group can have multiple roles assigned — for example, a user assignedgame.admin gets access to the game admin section.NOTE: If the client has Azure AD Premium, the admin can assign a security group to a role, and user members of the group will inherit the app role. This is a convenient way to manage roles, because the group owner doesn’t need to be an admin or app owner.
7
Verify access
Open Lobyco Admin Portal in another tab. The applications and services you have roles for should be available in the left panel: